⚙️ Georama Workflow Guide
This guide walks you through the full Georama publishing workflow — from preparing your QGIS project, configuring Georama, and integrating services, to publishing WMS and OGC API (WFS 3) layers.
Important
We proceed with a complete new stack of services. In case you arrived here from the DEV setup, please stop and or remove all running services first before you proceed.
We will use the docker approach to set up Georama for this guide.
🗺️ Overview
graph TB;
  prepareQGISProjectStructure["Prepare QGIS project structure"] -.-> prepareQGIS
  prepareQGIS["Export QGIS project with qgis-server-light"] -. "config.json" .-> configureGeorama
  configureGeorama["Configure Georama basics"] -."migrations & superuser".-> configureGeoramaUsers
  configureGeoramaUsers["Configure Georama users"] -."configure users & groups".-> configureGeoramaDataIntegration
  configureGeoramaDataIntegration["Configure Data integration"] -."configure projects & mandats".-> Publish
  Publish --> PublishWMS
  Publish --> PublishOGC
📁 QGIS Project Structure
Your QGIS projects have to be structured as follows:
data/
├── thematic_group
│   ├── data
│   ├── project_one.json (generated by the CLI script)
│   ├── project_one.qgz
│   ├── project_one.xml
│   ├── project_two.json (generated by the CLI script)
│   ├── project_two.qgz
│   ├── project_two.xml
│   ├── print_templates
│   └── styles
└── forest_fires
    ├── data
    ├── forest_fires.json (generated by the CLI script)
    ├── forest_fires.qgz
    ├── forest_fires.xml
    ├── print_templates
    └── styles
The root folder of this example is called data. This is not mandatory and you can have whatever name you
want. It serves as an example in this case. You can further:
- put arbitrary amount of direct subfolders but minimal one in
data, these folders are mainly meant to give organizational to group projects into maybe thematic subdivisions. - Each of this sub folders can host an arbitrary amount of QGIS Projects but at least one and related data.
Important
Folder and file names may contain spaces. However, this is not good practise and you should avoid using them.
Hint
The data should be kept in a subfolder relatively to the corresponding project. We do not give any mandatory structure here. The only important constraint is to keep local data references in the QGIS project relative
Success
Once you have aligned your QGIS project file structure to the tree above, you can proceed with the next step.
🧰 Prepare the QGIS Projects
Now you can open each QGIS project and style, add data as you wish.
Prepare the QGIS Project
Datasources
Datasources f.e. .gpkg files and database connections must be integrated in the project and working. Files like .gpkg must be inside the project folder in a way that QSL has access to it.
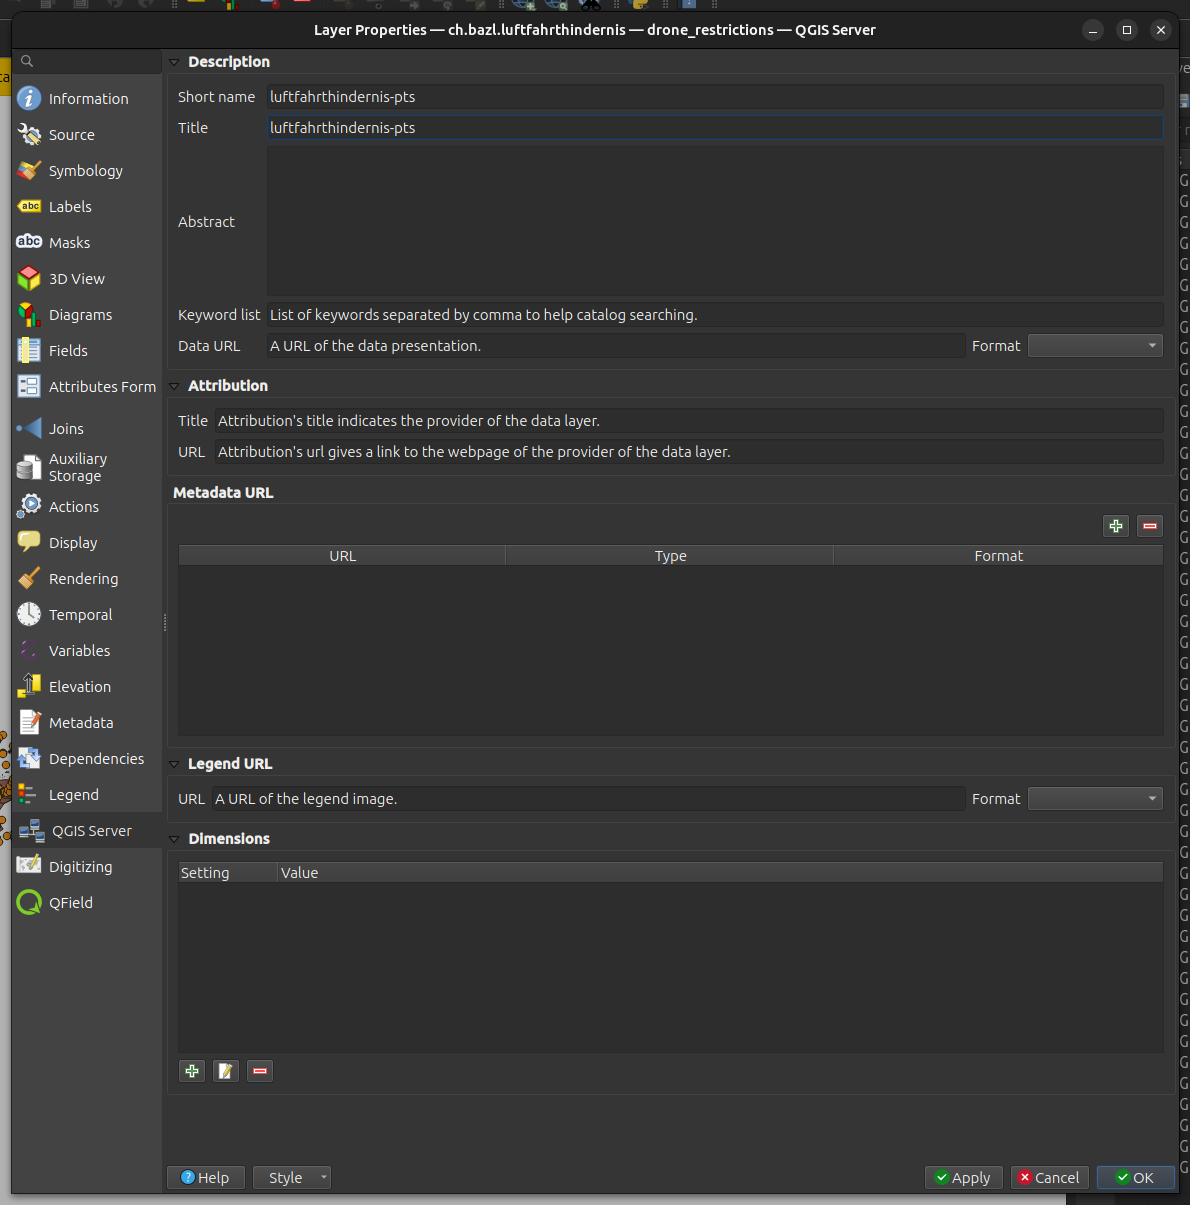
Layers
For each layer in your project, do the following task:
Right-click on the layer, select the menu point Properties now choose the menu point QGIS Server, enter a short name and a title.
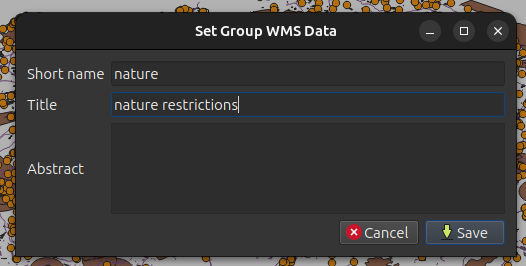
Groups
For each group, do the following task:
Right click on the group, select the menu point Set Group WMS Data, now enter a short name and a title.
QGIS Server Light (QSL)
QGIS Server Light (QSL) offers a CLI script to extract the config JSON from QGIS Projects. It is available in the DEV version of the QSL docker image.
🔧 CLI Help
You can use that as follows:
docker run --rm --entrypoint /opt/qgis-server-light/venv/bin/python opengisch/qgis-server-light-dev:latest -m qgis_server_light.exporter.cli --help
The CLI script opens the stated QGIS project and uses pyqgis to extract the elements which are necessary to build the JSON. Therefore, the data which is in the defined QGIS project has to be available (local files, databases etc.). In most cases the process will run without complaints, But if the data is not available for instance the bounding boxes cant be calculated and are default values which are not the right ones.
Info
QGIS project has to be available (local files, databases etc.)
Since the data is touched the process lasts a bit depending on the amount of layers you have in your project.
Info
Remark: Having spaces in the project file name is possible but not a good idea in general.
The JSON is written to stdout. To put it in a file the stdout has to be piped into a file.
🚀 Generate JSON
This guide assumes you started a shell session inside the root of your project structure. So all paths
in the following instructions are adapted to that. In our example we would have changed directory into data.
# generate the JSON for Forest Fires project
docker run --rm -v $(pwd):/io/data --entrypoint /opt/qgis-server-light/venv/bin/python3 opengisch/qgis-server-light-dev:latest -m qgis_server_light.exporter.cli --unify_layer_names_by_group True --project /io/data/forest_fires/forest_fires.qgz > forest_fires/forest_fires.json
Info
Be sure to use a recent version of QGIS-Server-Light exporter:
# update the container
docker pull opengisch/qgis-server-light-dev:latest
You have to execute this command for every QGIS project in your structure and everytime you applied a change to the QGIS project.
Info
The JSON can be used to configure Georama.
🚀 Start the Georama services
docker run --rm -d --name georama-db -e POSTGRES_PASSWORD=test -p 54321:5432 postgis/postgis:latest
docker run --rm -d -p 1234:6379 --name qsl-redis redis
# it is correct that we use a different image for the qsl worker here
docker run -d --rm --net host --name qsl -v $(pwd):/io/data opengisch/qgis-server-light:latest
# this assumes you have built the Georama image locally before
docker run -d -p 4242 --rm --net host --name georama -v $(pwd):/io/data georama:dev
docker exec georama make migrate
docker exec -ti georama make create-superuser
Info
In case of questions consult the Dev guide for the docker approach
Success
Admin interface (user: admin password: whatever-you-chose): http://localhost:4242/admin/
🛠️ Configure Georama Basics
Now you can configure the Georama basics in the admin interface.
Add users and groups to configure fine-grained access control later on.
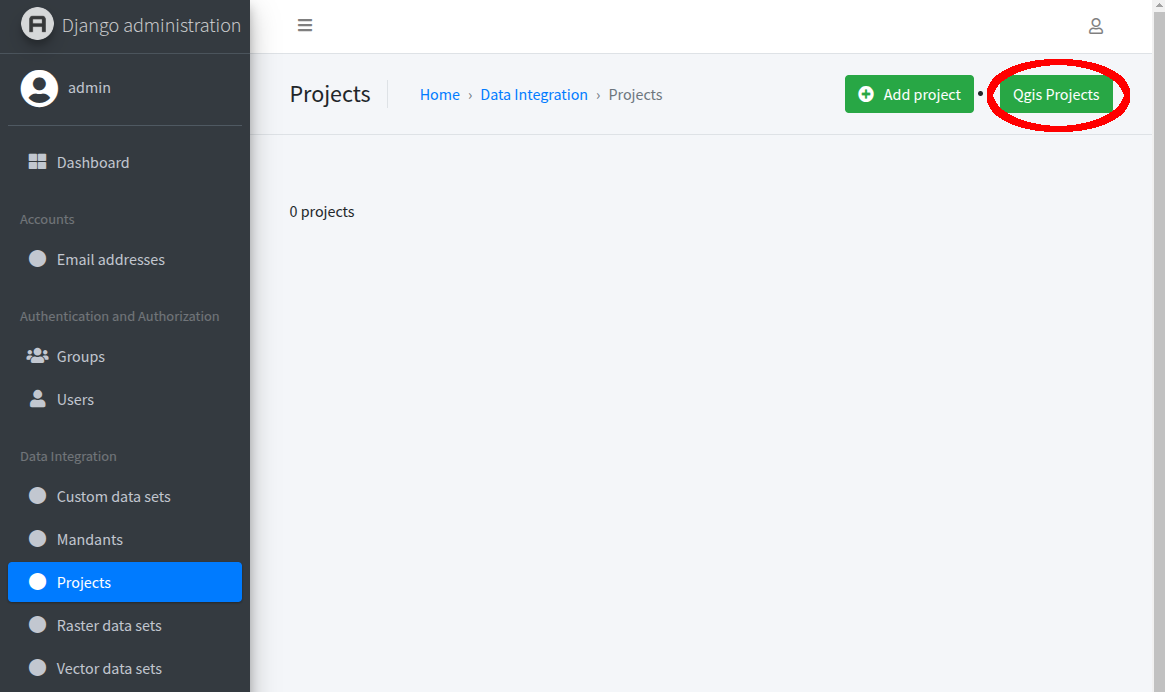
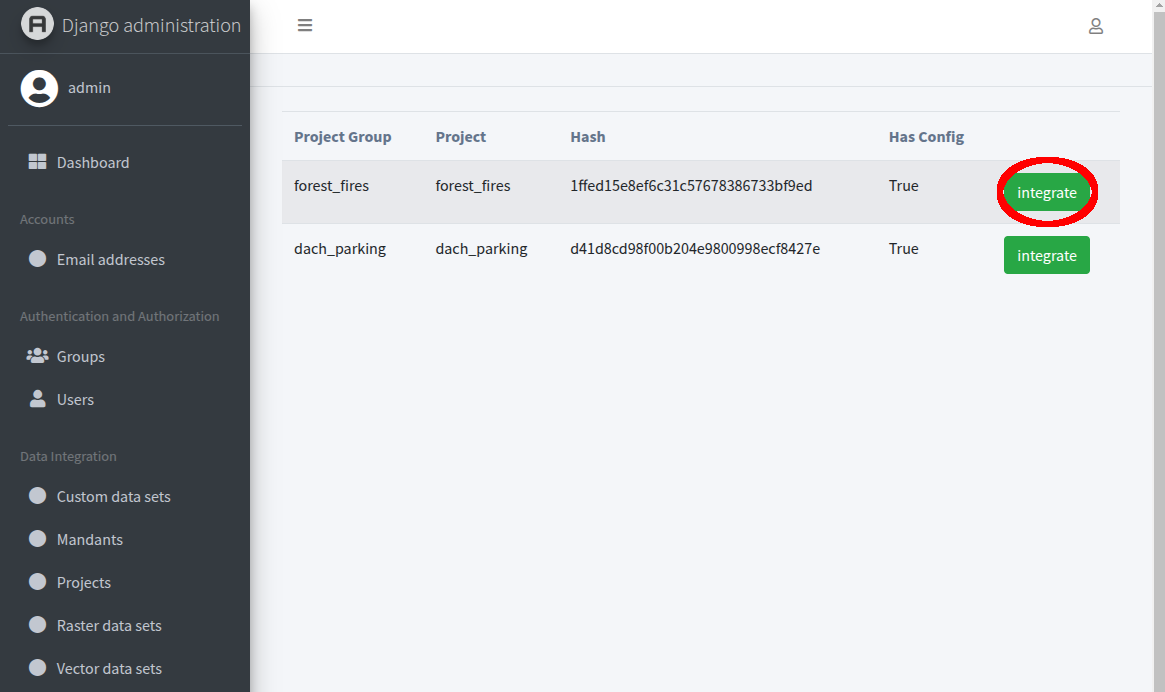
🧩 Configure a Project
Import a QGIS project from the generated JSON file.
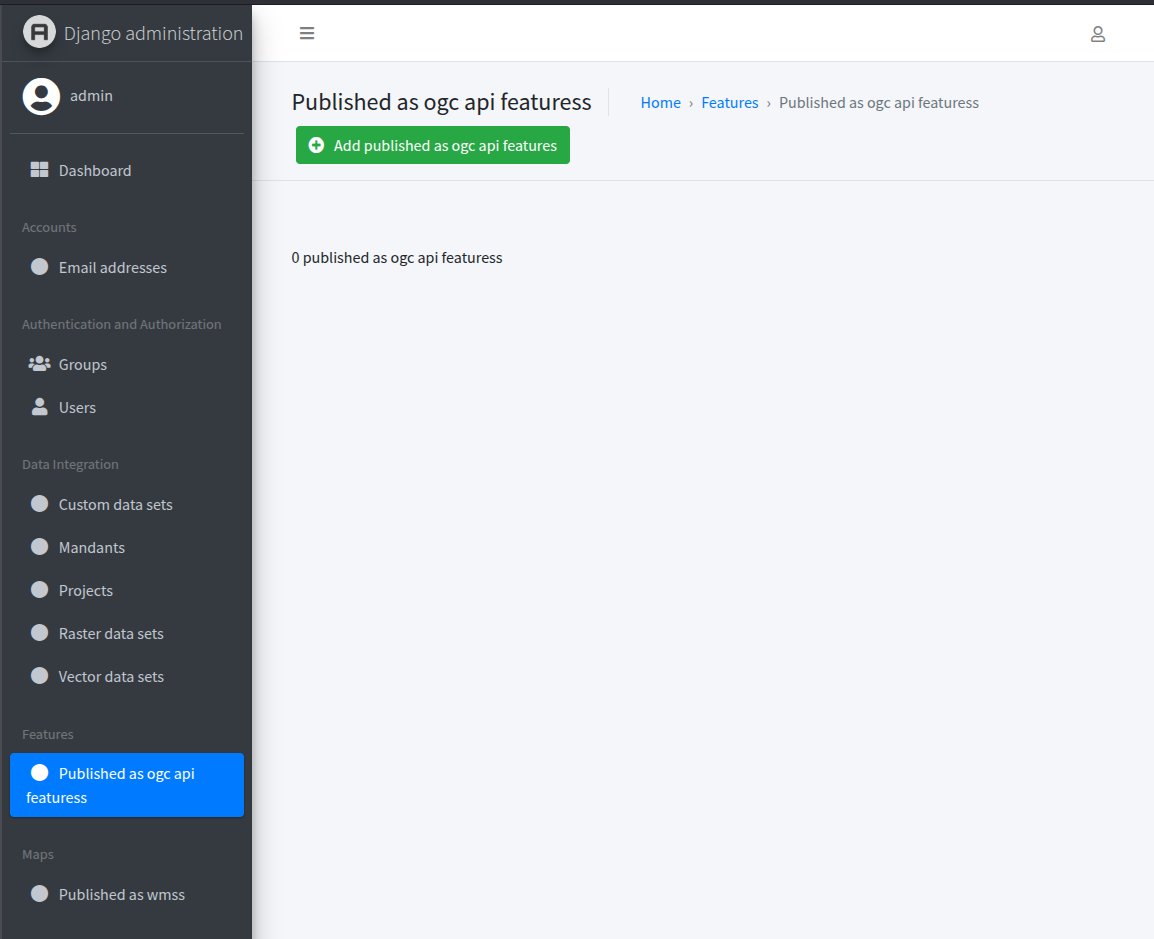
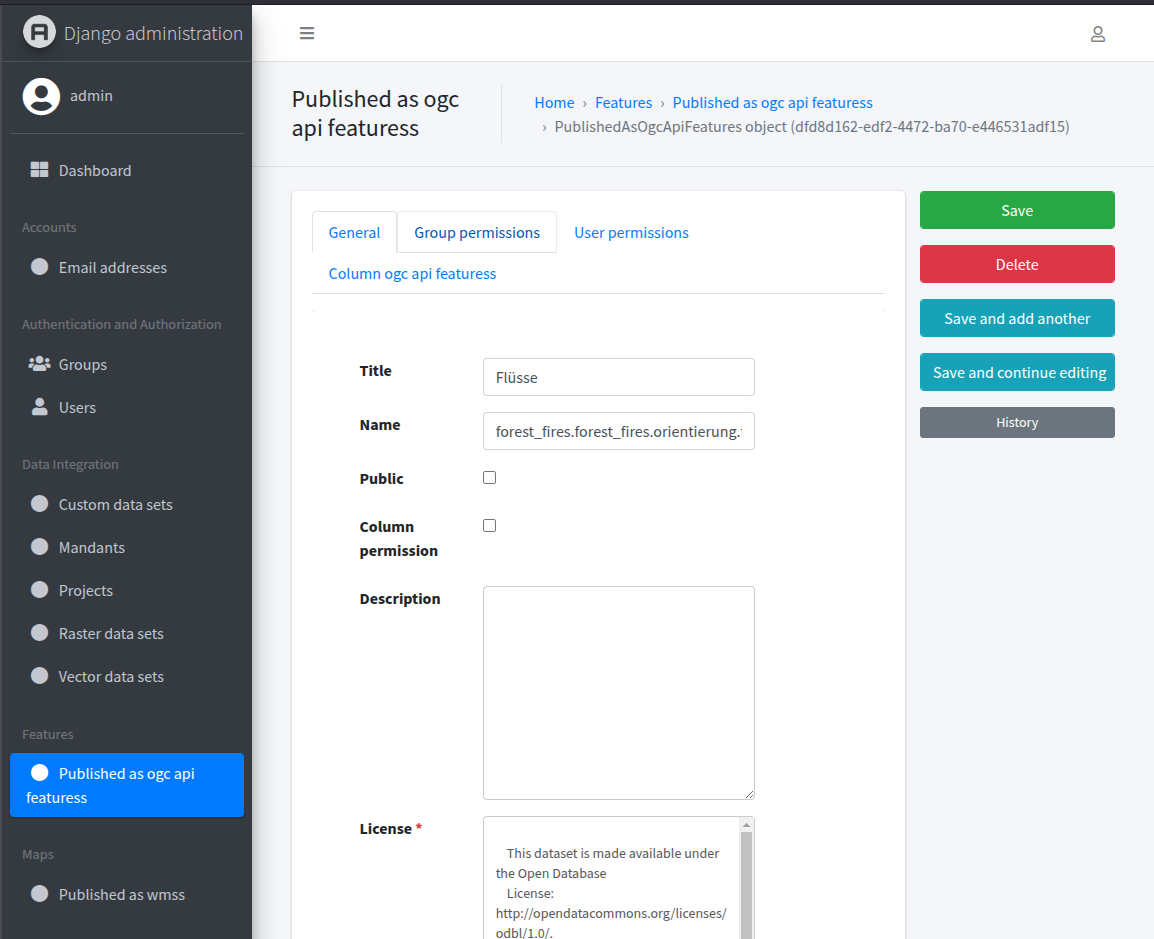
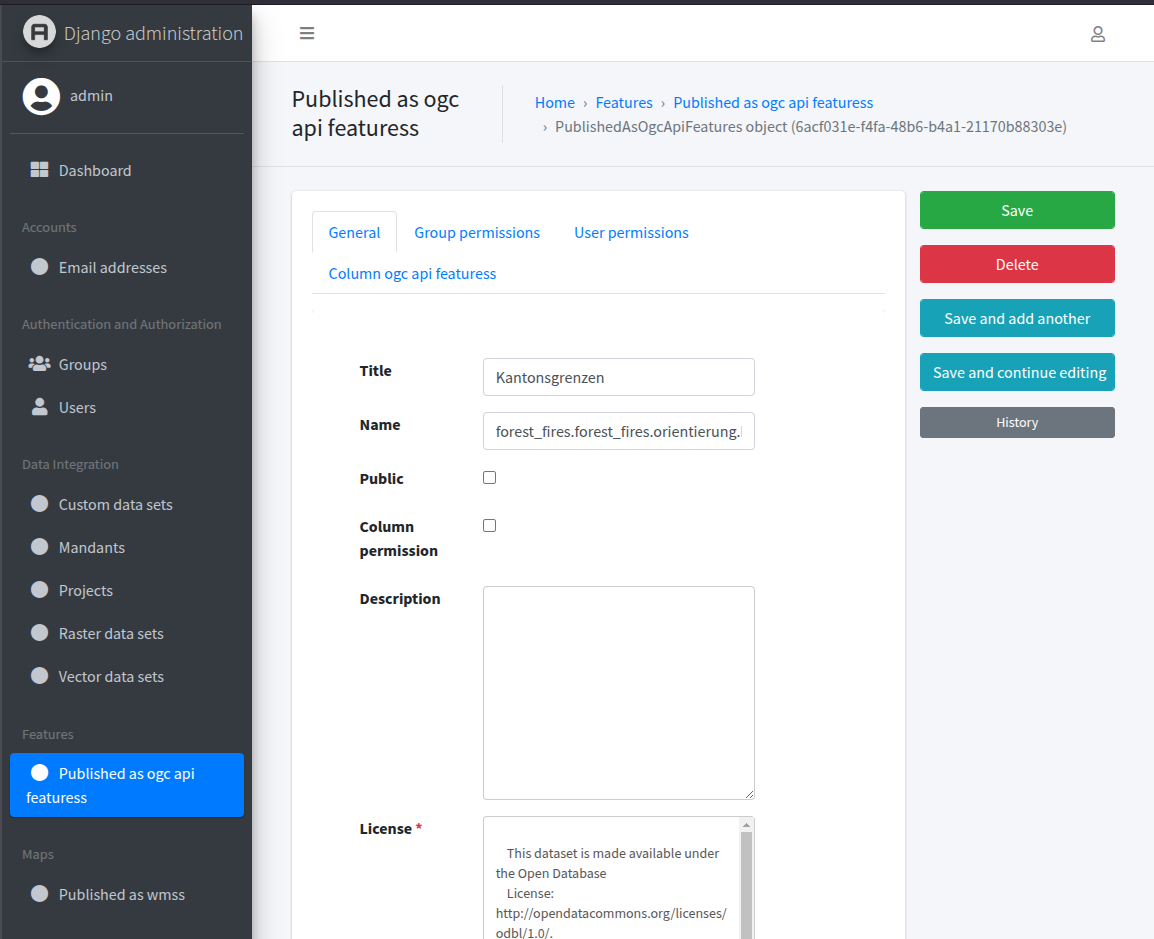
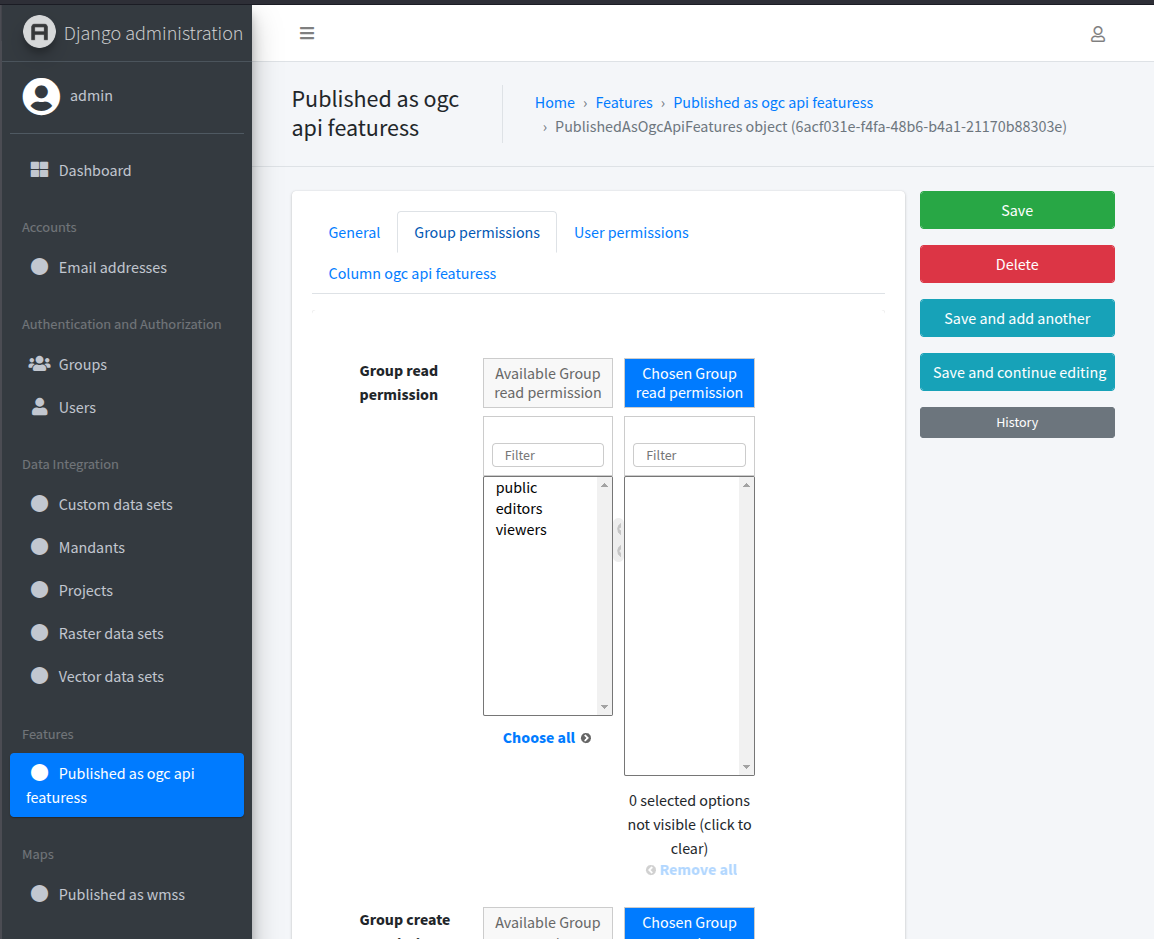
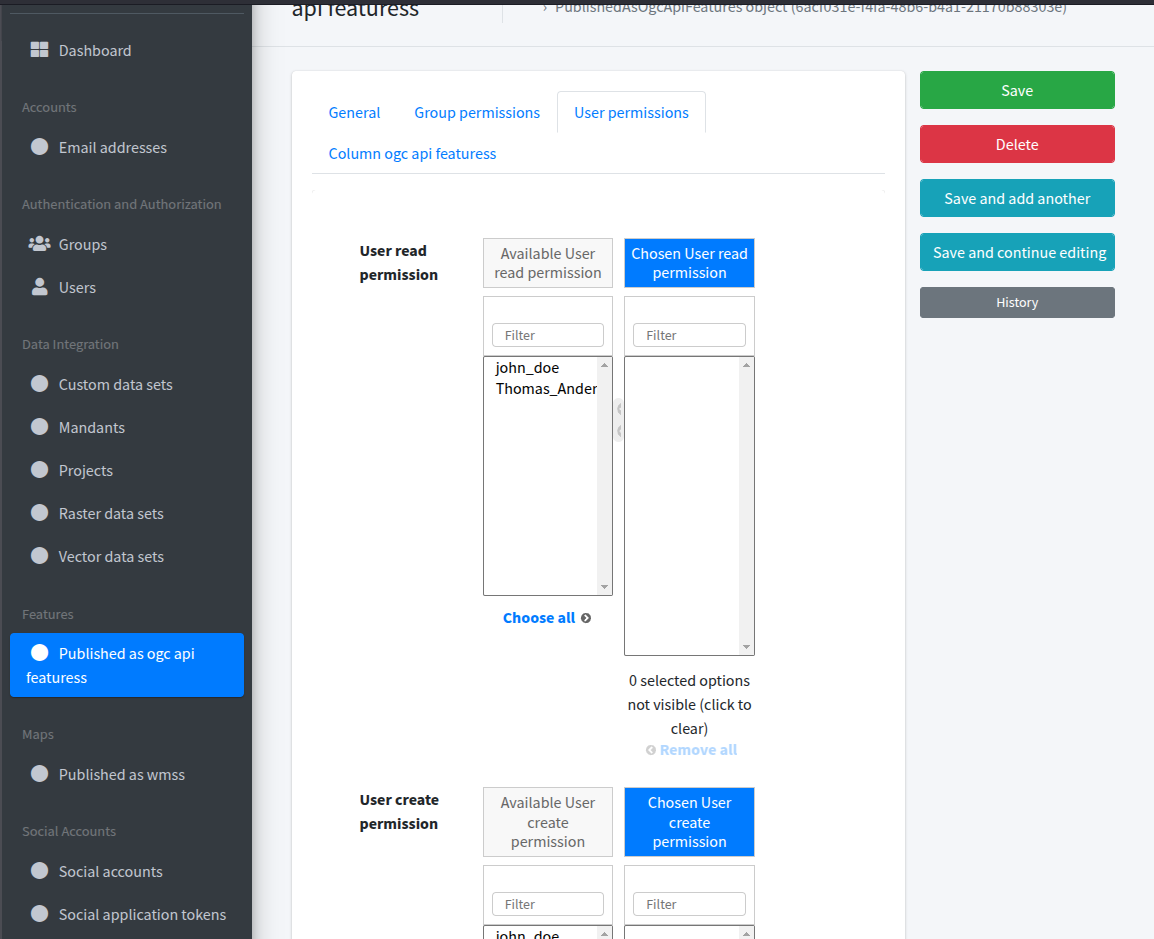
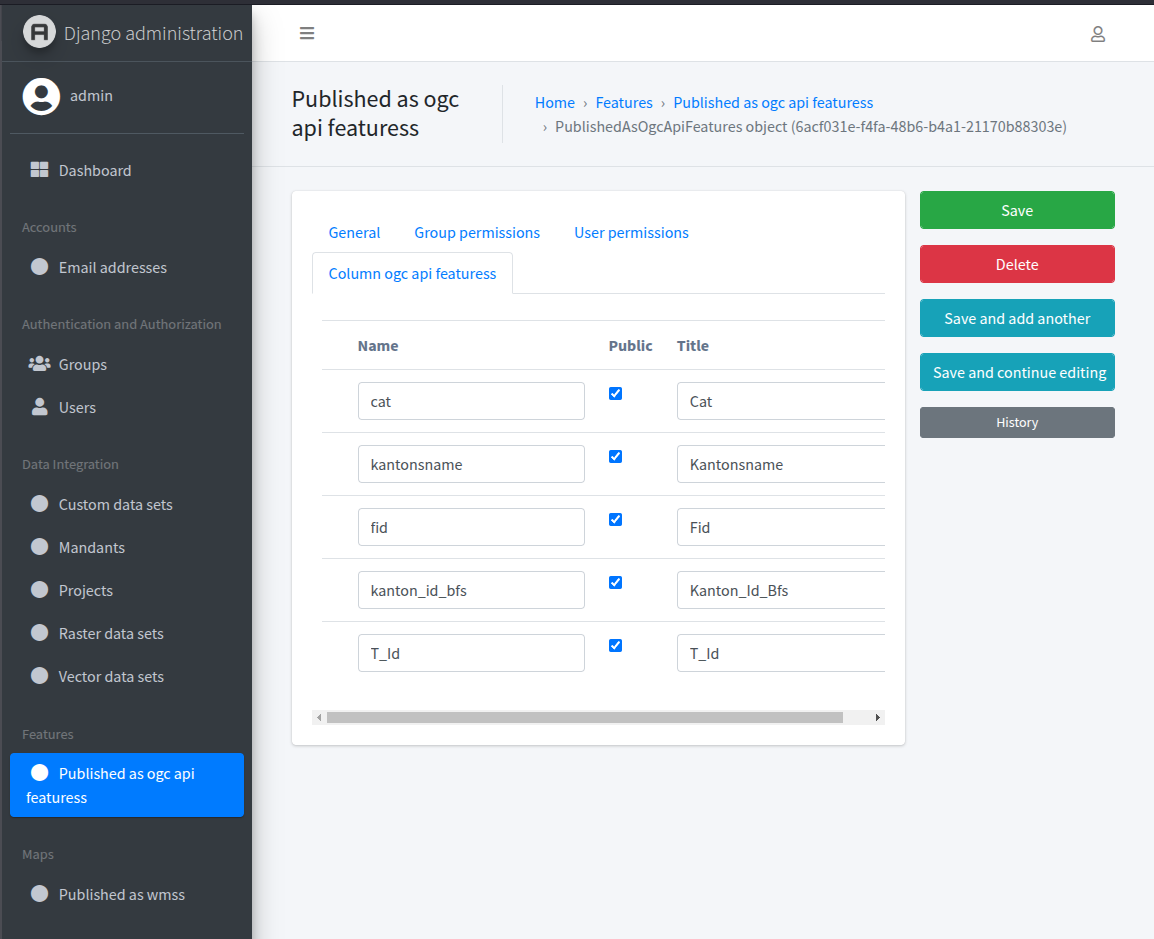
🌍 Publish a OGC Feature


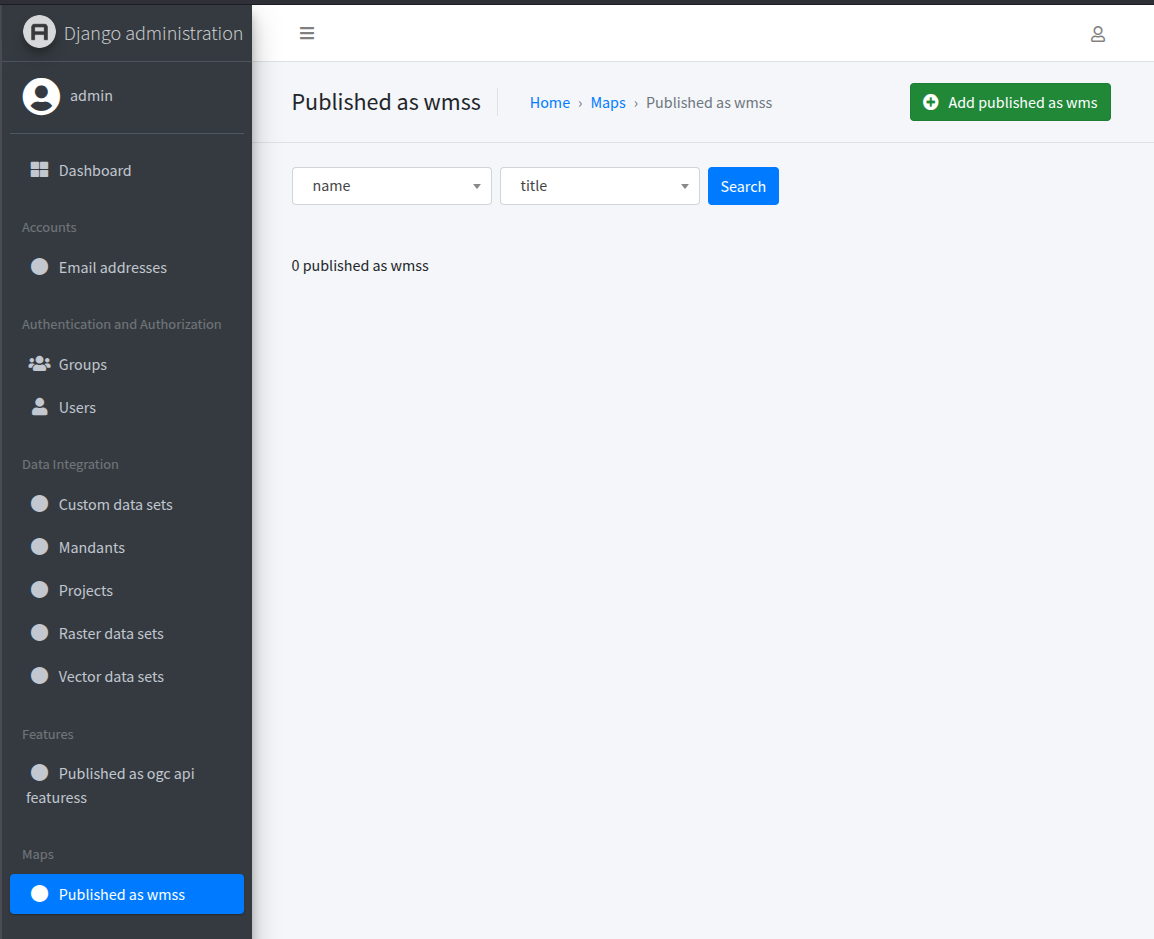
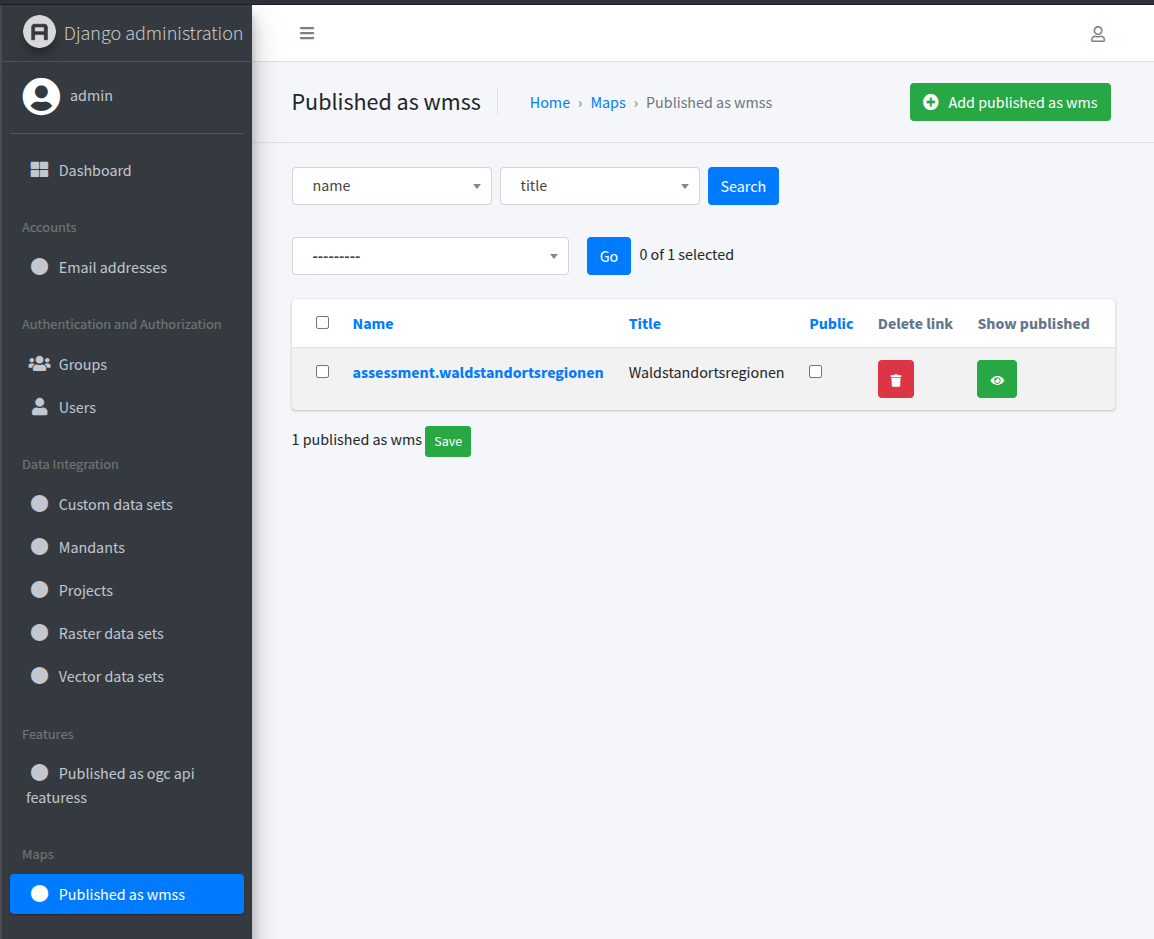
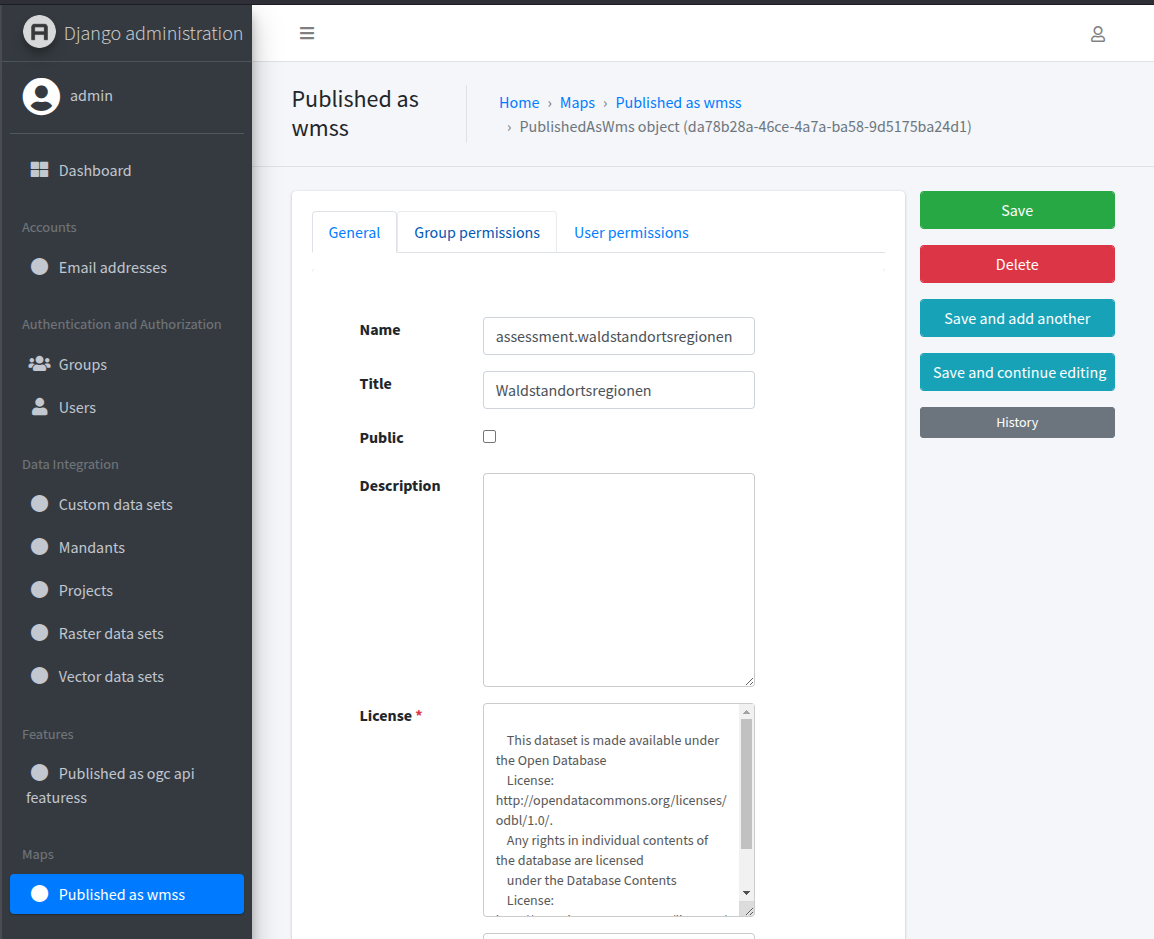
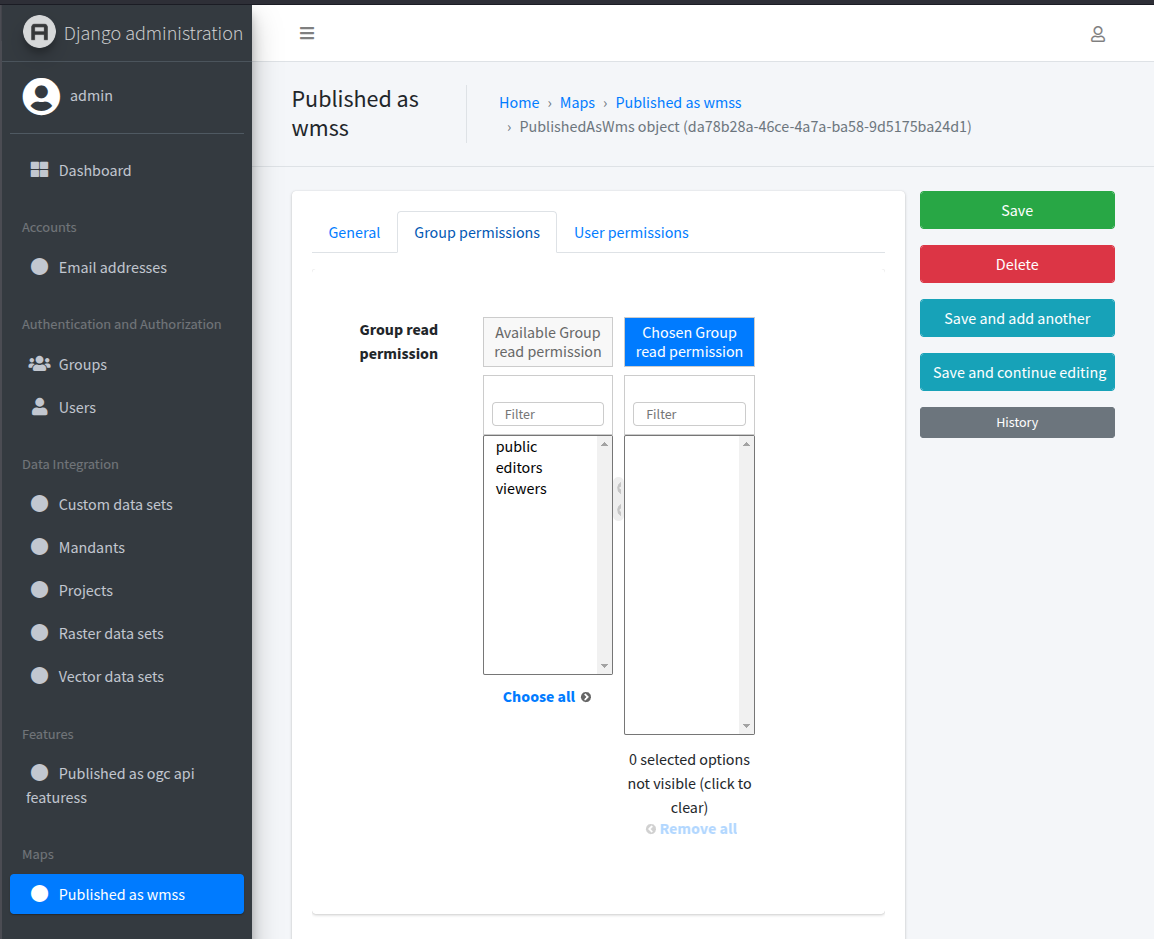
🖼️ Publish a WMS layer

🔗 Accesing the published data
See Endpoints to access the published data.