Publishing a Project as a Theme to a WebGIS (GeoGirafe)
Relevant Navigation Menu Entries
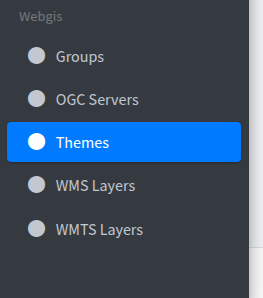
The relevant Navigation Menu entries can be found in Django Admin at the bottom:
Webgis Workflow
graph TB;
  importQGIS["Integrate QGIS Project (if not already done)"] -. "." .-> prepareTheme
  prepareTheme["Select a Project to publish as Theme"] -. "." .-> groups

  groups["Organize the Groups/Layertree"] -.".".-> manageLayers
  manageLayers["Manage layers"] -.".".-> wmsLayers
  manageLayers -.".".-> wmtsLayers
  wmsLayers --> webGis
  wmtsLayers --> webGis
  webGis["WebGis (GeoGirafe)"]
Data integration -> Project
If you not already have imported a QGIS Project, now is the time to do so. Go to Data integration -> Project and press
the button Qgis Projects
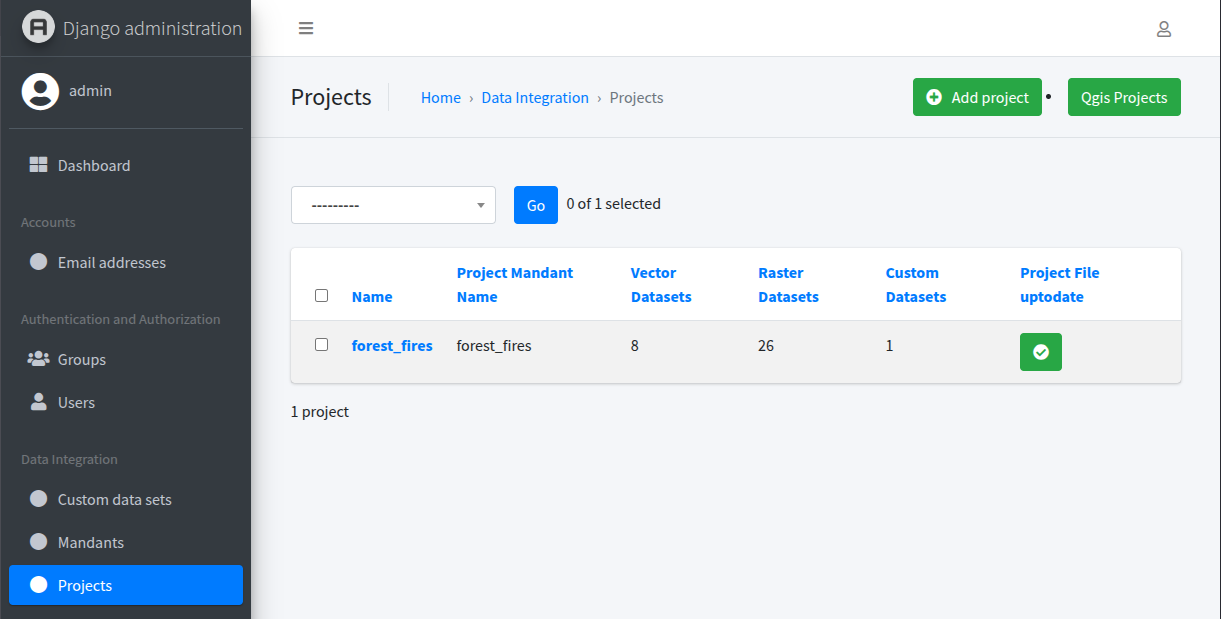
Choose which project you want to integrate and press the button integrate beside the project.
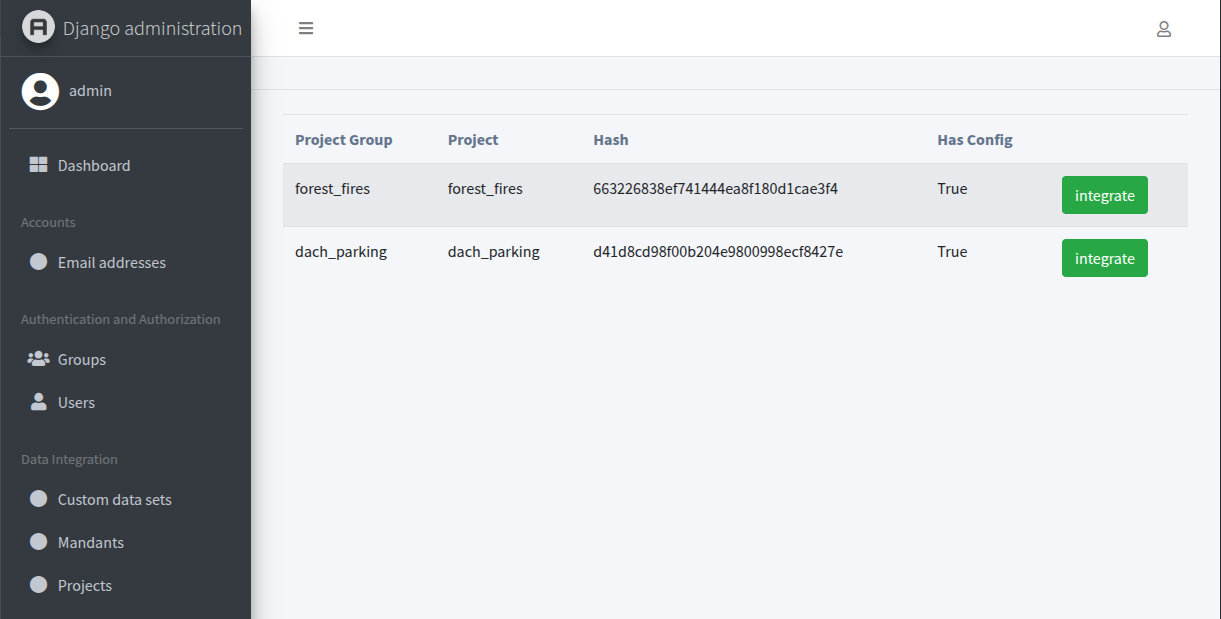
Now you are ready to move to the next step.
Themes
Press the button Publish from Project

Now you can select a QGIS Project

The OGC Server of the project is automatically added.
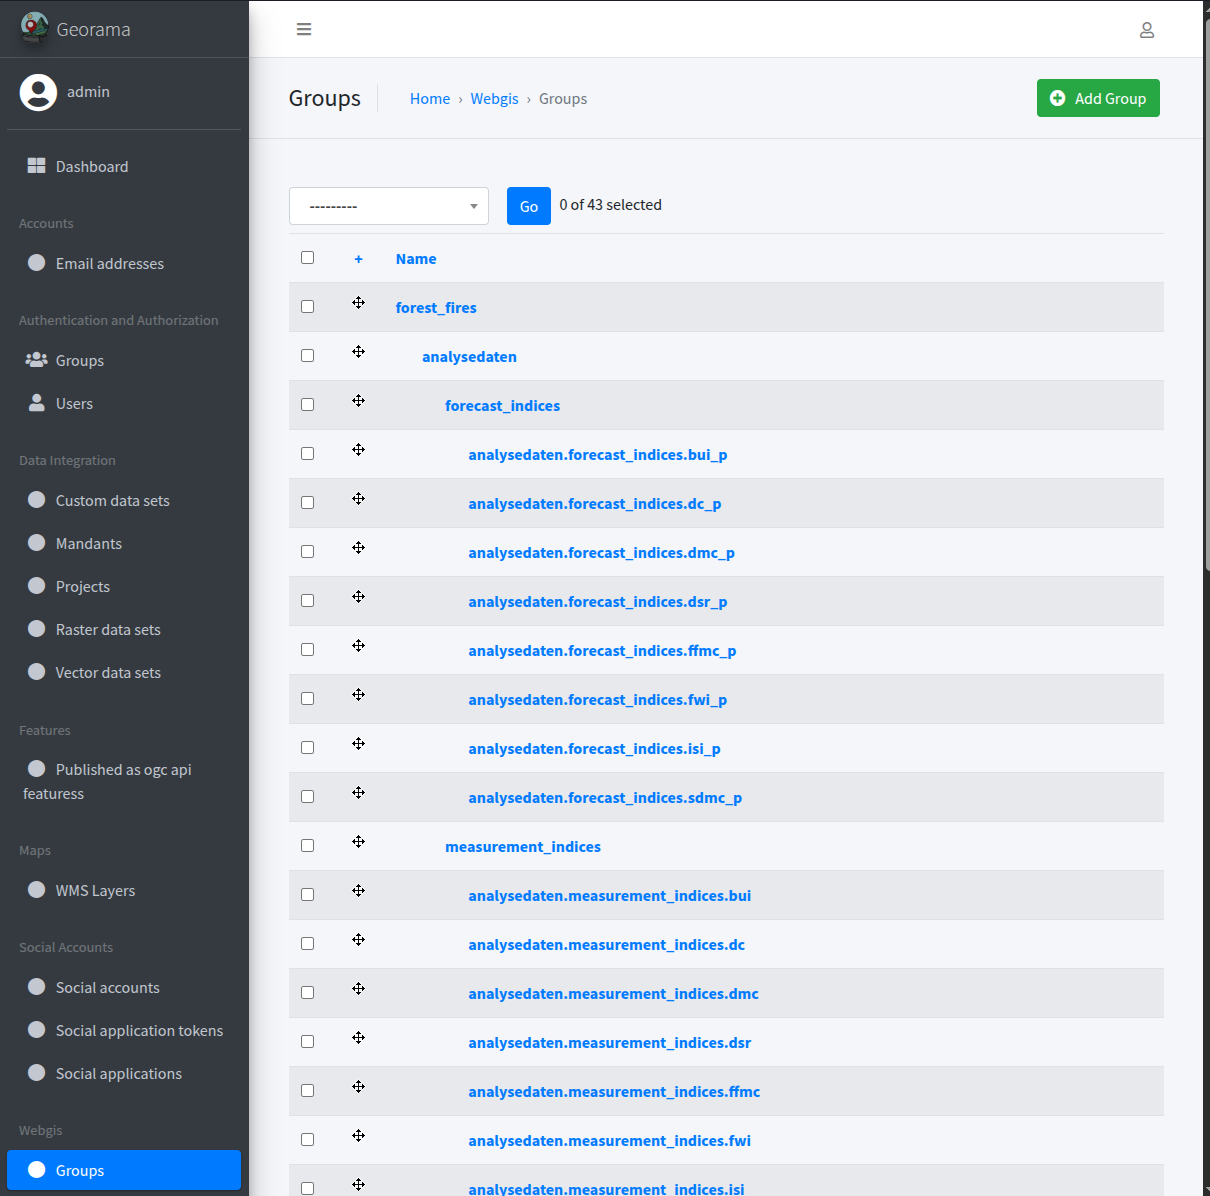
Groups (Layertree)
Here you can reorder the groups/layertree per drag and drop for publishing the themes.json
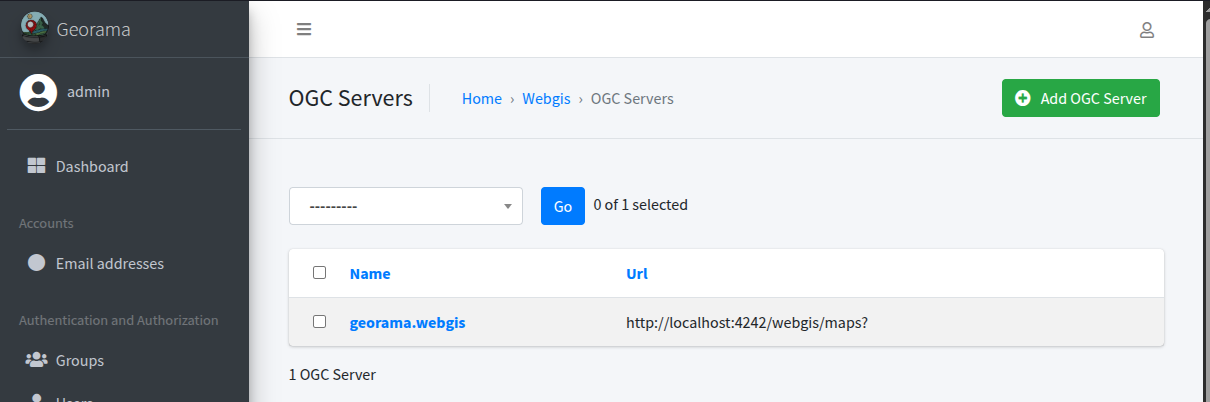
OGC Servers
The OGC Server of the project is automatically added.
WMS Layers
Info
Currently all layers have to be to set to public to be visible in the WebGIS
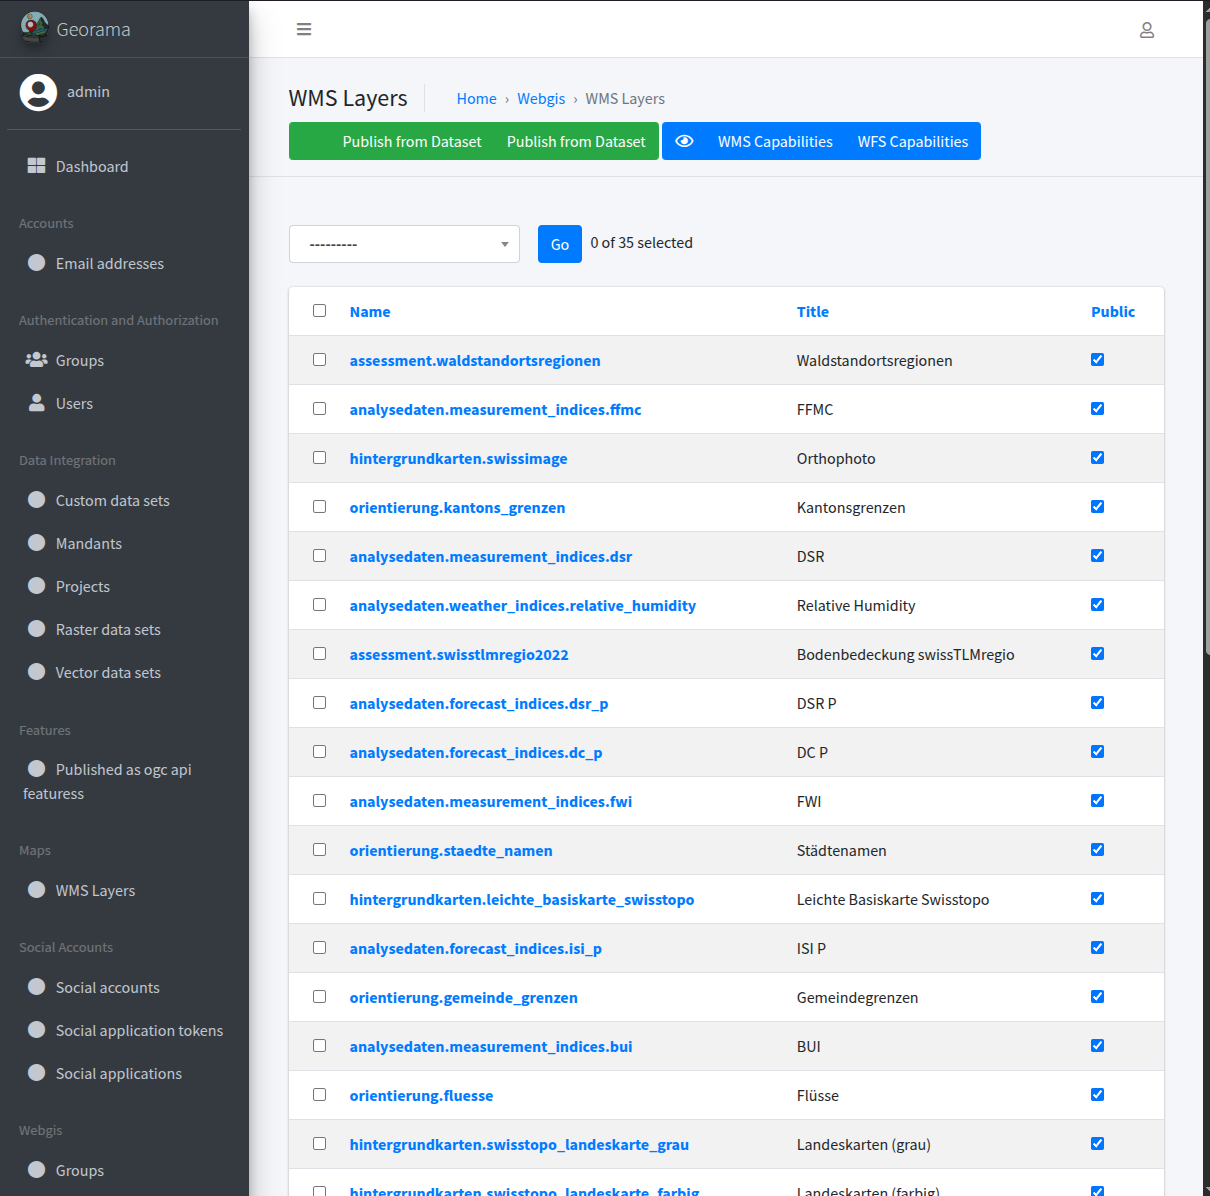
Here you can manage the single WMS layers.
WMTS Layers
Info
Currently all layers have to be to set to public to be visible in the WebGIS
Here you can manage the single WMTS layers. Which is currently not implemented.
GeoGirafe
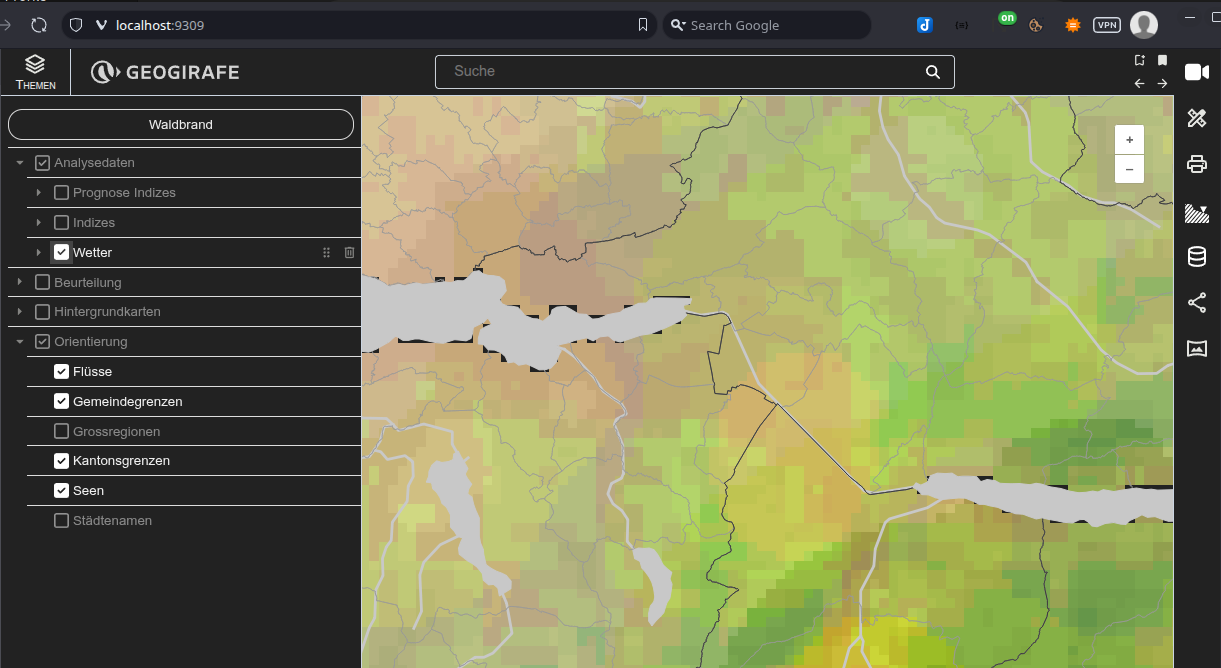
Now you can navigate to your GeoGirafe instance to view your theme, which is in dev mode found under http://localhost:9309